Transforming the space:
a simple compilation of how i go from this to that


ikea for the win…
So I woke up one day and decided I needed some nightstands, specifically ones tall enough to accommodate my high sitting bed. So off to Ikea I went, where I found these awesome storage cabinets (you can find them too, by clicking on any of the above images, you’re welcome). They come in untreated solid pine, so they can be painted, stained, or left as is. After some serious contemplation I decided to:
1) ditch one of the doors, as I like the open look, but I also wanted some things to be out of view
2) stain and paint them. I went with a minx stain in ‘special walnut’ for the door and shelves and a glossy black for the frame.
I applied the special walnut with a cloth, this allowed the natural marks to still show through and keep the integrity of the wood. Whereas, I used a paint brush to achieve an opaque finish for the frame.
A few hours of painting and 24 hours of drying later…ta daaaaa


Old to New…
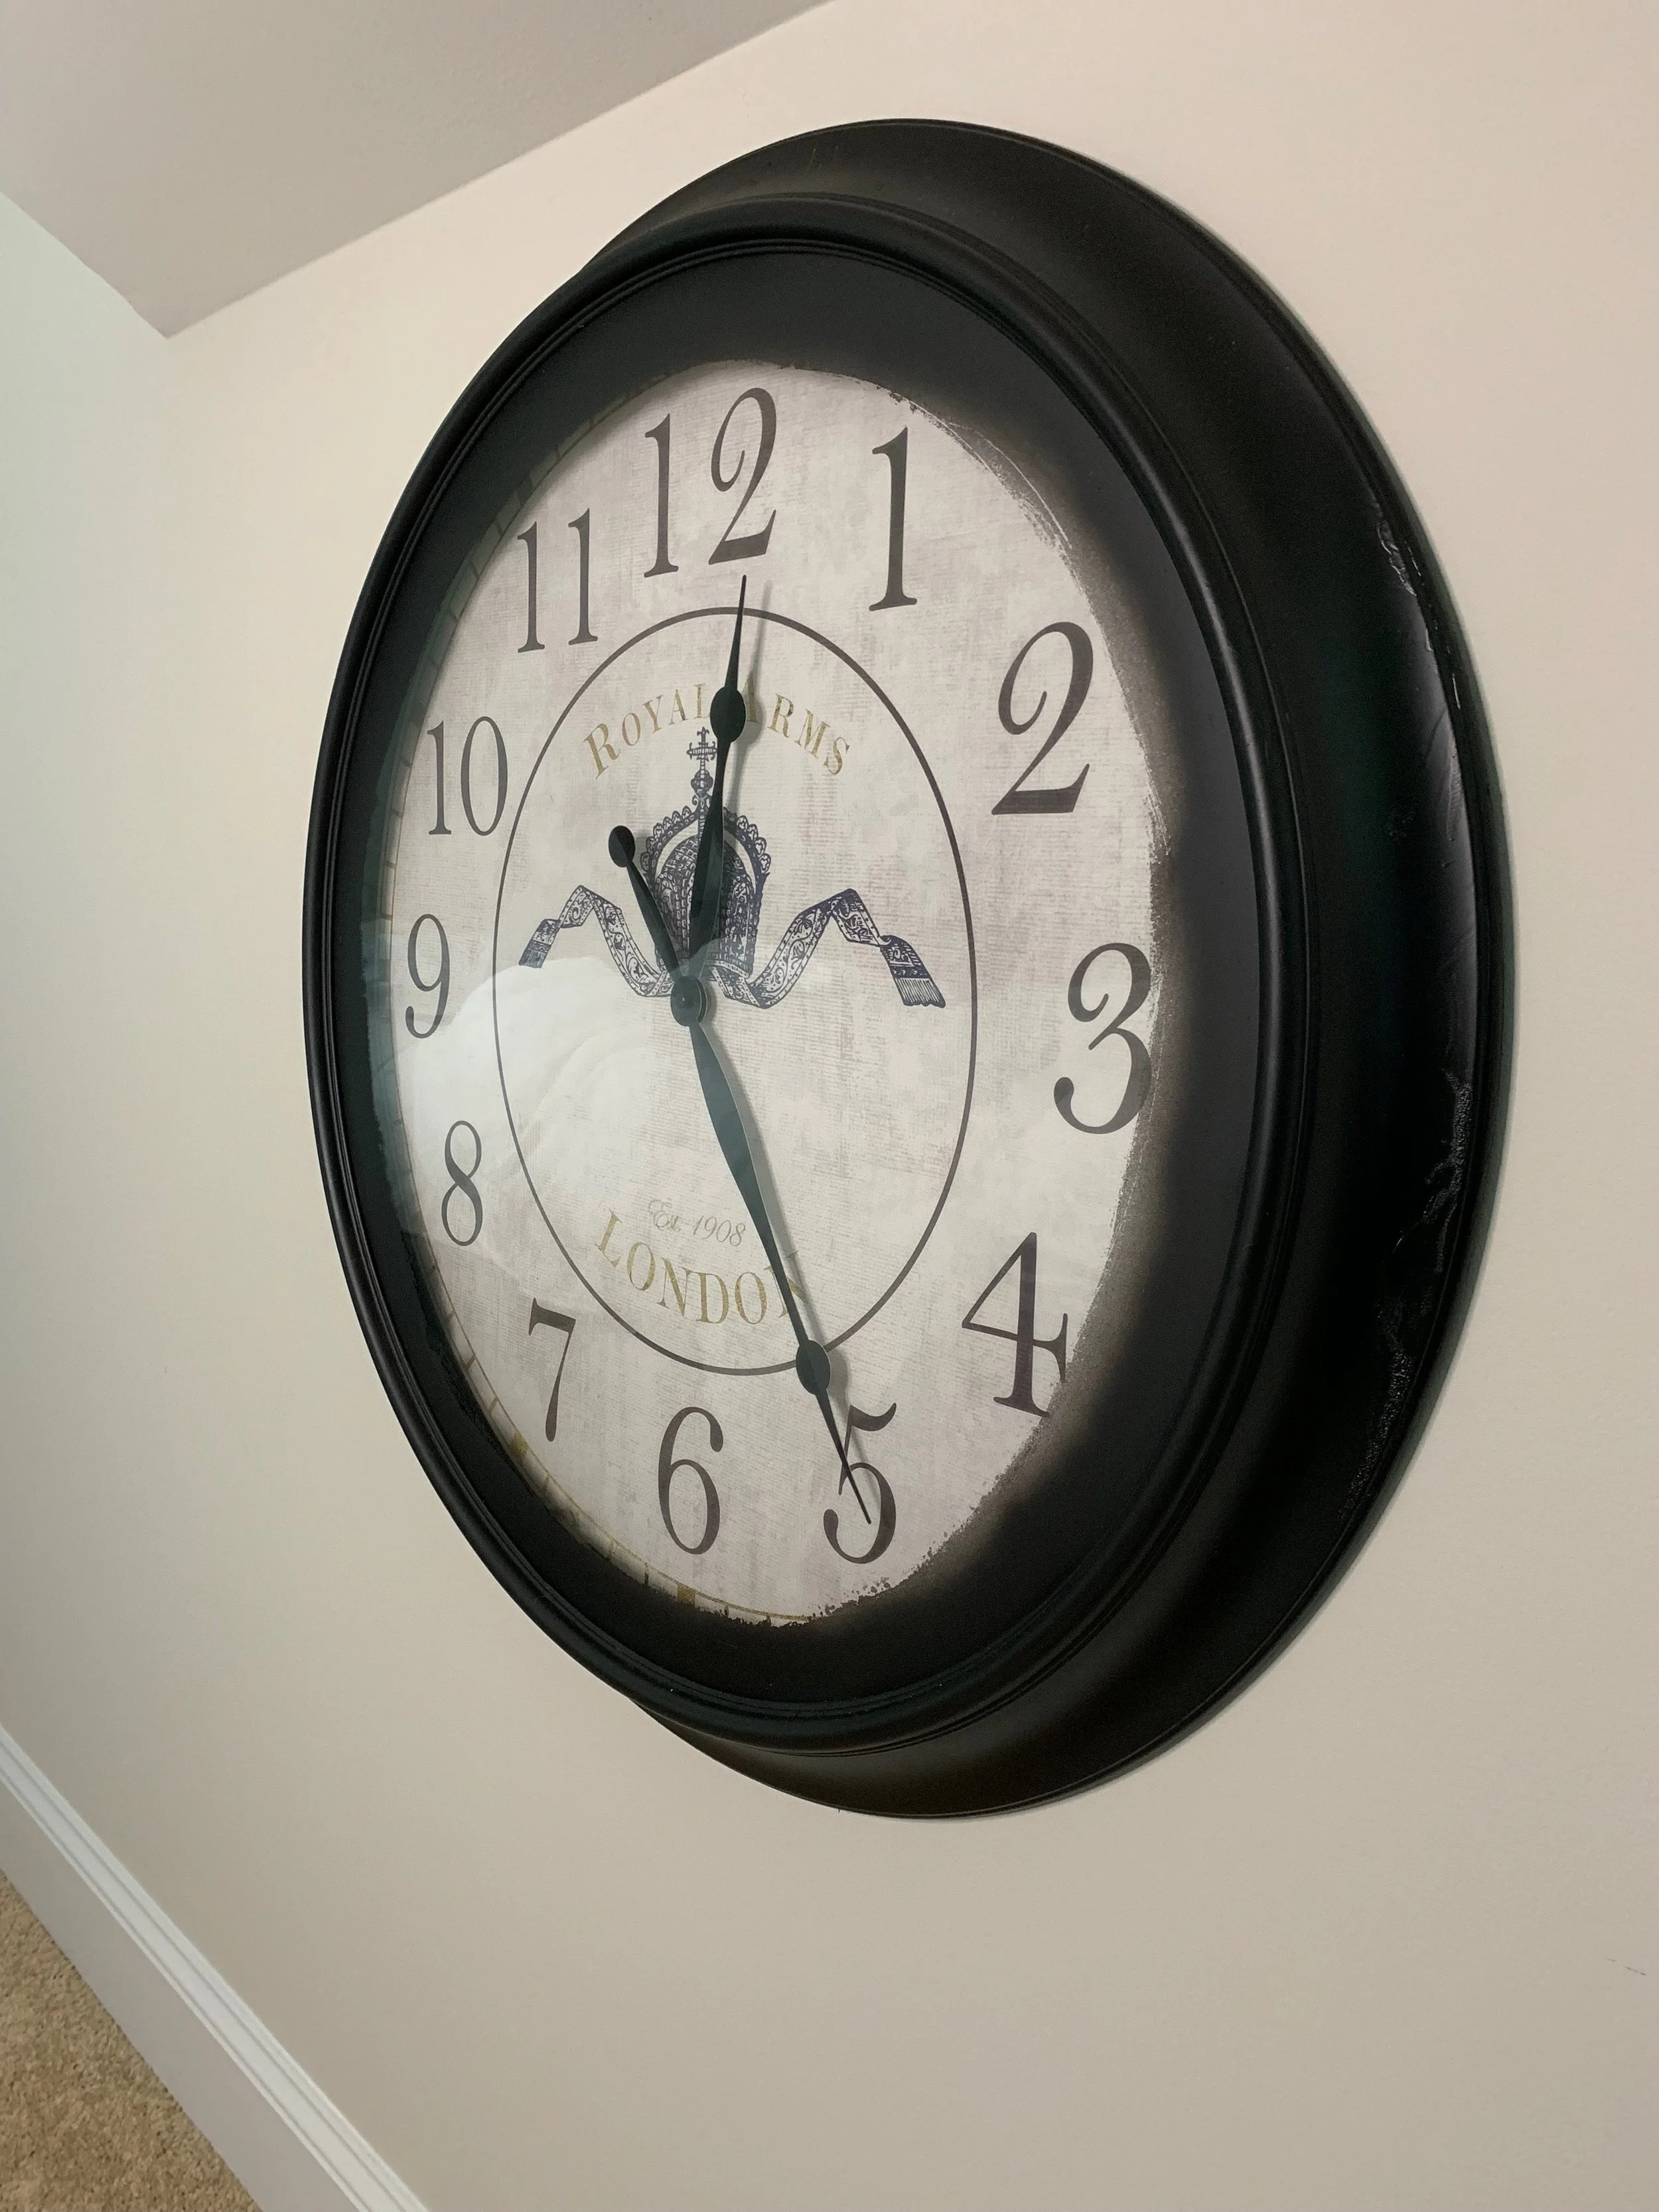
I bought this oversized clock at home goods about three years ago. Originally, a brushed gold finish, it didn’t go with the style of my living room; so, I painted it silver. Fast forward to the present day and it now hangs in my bedroom, which called for another color change. I used matte black spray paint to create this fogged effect around the glass and a smooth black finish on the surface.


My aunt wanted a Sofa Table…
So I embarked on an intense Pinterest search, for plans for a DIY sofa table and I found super easy and adaptable plans at Jenna sue Design co. I made few adjustments to her original plans mainly, I used MDF for the tabletops as I needed my table to be significantly longer than hers and MDF is much cheaper. I only needed to purchase a single piece of MDF and cut it down to size, yielding four long pieces that created my top and base pieces. Finished it off with a grey wash and now my aunts have a sofa table that fits their space perfectly.


Show me what you’re dressing with…
For this project, I really liked the idea of having an open visualization of my daily wardrobe, so I ventured off to the At Home store and found this wardrobe rack for about $20. Out of the box the rack has silver and black hardware, and an open base. I was digging the black, not so much the silver. So once assembled, I spray painted all of the silver parts matte black. As for the base, I used one of the extra doors from my nightstand project, cut it down to the appropriate size so that it would fit snugly in the space and stained it the same color as the doors of the nightstand.